How to Upload Videos to Adobe Stock Contributor
How to Upload Videos to Adobe Stock Contributor - Adobe Stock Contributor is a Microstock website like Shutterstock, Dreamstime, and others where photographers, vector image makers, and videographers can sell their work in the form of photos, vector images, and video footage. Works sold on the Microstock website are usually royalty-free which means that each work will be appreciated from every download owned by the work.
In another post, we discussed about how to Sell Photos on Adobe Stock Contributor which is quite easy. However, this time we will discuss how to Upload Videos in Adobe Stock Contributor. Uploading videos on Adobe Stock Contributors is more complicated than how to upload vectors in Adobe Contributor and upload photos in Adobe Stock Contributors, we are required to use SFTP to be able to upload and sell videos on Adobe Stock Video.
 |
| How to Upload Videos to Adobe Stock Contributor |
In short, SFTP or SSH File Transfer Protocol is a medium used to perform data or file transfers by using the SSH protocol which has a high level of security because it also supports encryption. In this article we will discuss How to Upload Videos in Adobe Stock Contributor using SFTP. Check out the tutorial below until it's finished.
How to Upload Videos to Adobe Stock Contributor
How to Upload Videos to Adobe Stock Contributor using SFTP
1. Login to your Adobe Stock Contributor login page and on its dashboard and go to the Upload menu.
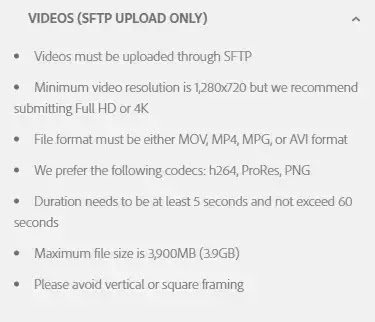
2. Read the video upload requirements and make sure your video is eligible for upload.
 |
| Videos Requirements |
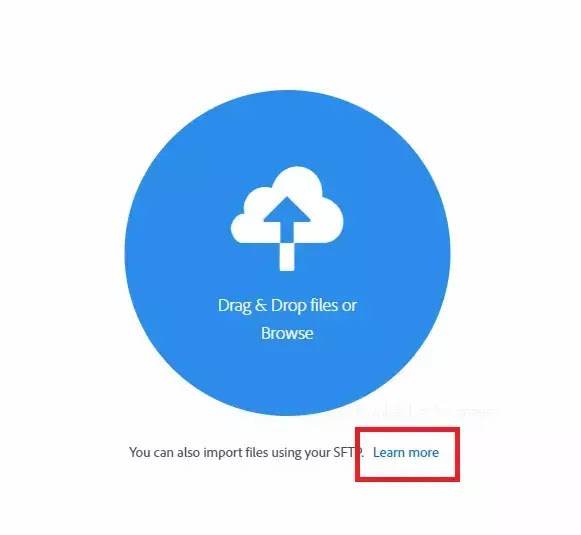
3. On the Upload page, click the Learn More button just below the Upload image.
 |
| Learn More Button |
4. A new window will appear about the use of SFTP. Adobe Stock recommends using SFTP FileZilla. Click the FileZilla link, then you will be directed to the FileZilla web page, download and install FileZilla to your PC.
 |
| FileZilla Link |
5. Go back to the Upload page in Adobe Stock, click the words Learn More again, then click the Generate password button to bring up the password that will be used in FileZilla. Copy the Host, ID, and Password.
6. Once installed, open the FileZilla application. Enter the Host, ID, and Password that you copied earlier to the column at the top of the FileZilla application then click Quickconnect to connect with the Adobe Stock server. Make sure the status in the bottom column host, ID, and password says connected so that we can start uploading video files. (The Port column does not need to be filled in. However, if FileZilla asks to fill in the Port field, just fill it with the number 22).
 |
| Quickconnect |
7. On the left part of the FileZilla display is a folder on your computer. How to upload videos in Adobe Stock is very easy. First, find your video file first, if you have found it, you just drag the video file to the right column.
 |
| Drag the video to the right |
8. After you drag, a file transfer process will appear at the bottom. If the upload process has been completed, a notification will appear that the file has been uploaded.
9. Now go back to the Adobe Stock Contributor website. Go to the Uploaded Files page. Refresh the Uploaded Files page many times until your video appears on adobe stock's Uploaded Files page. (It may take about a few minutes for the video to appear).
 |
| The video has appeared on the Upload Files page |
10. If the video has appeared, you can start to write a caption and keywords that you will embed into the video.
11. Finally, click Submit files to collect the video for review by Adobe Stock which later if passed will be marketed and traded on the Adobe Stock website.
Closing
Now you can know how to upload videos to Adobe Stock Contributor or Adobe Stock video footage contributor. Thank you for reading this short tutorial on How to Upload Videos to Adobe Stock Contributor easily using SFTP.


